
Shower niche tile edges need a decision before the tile order is released. A niche interrupts a flat wall with a back, two jambs, a head and a sill. Even when all those surfaces use the same colour, the opening can look unfinished if the cut edges and corners have been left to chance.
Three useful approaches are cut field-tile returns, matching ceramic trims and separate edging profiles. The best choice depends on the actual tile edge, the intended outline and the available pieces. Start with the corner you want to see, then confirm that the selected range and installation system can deliver it.
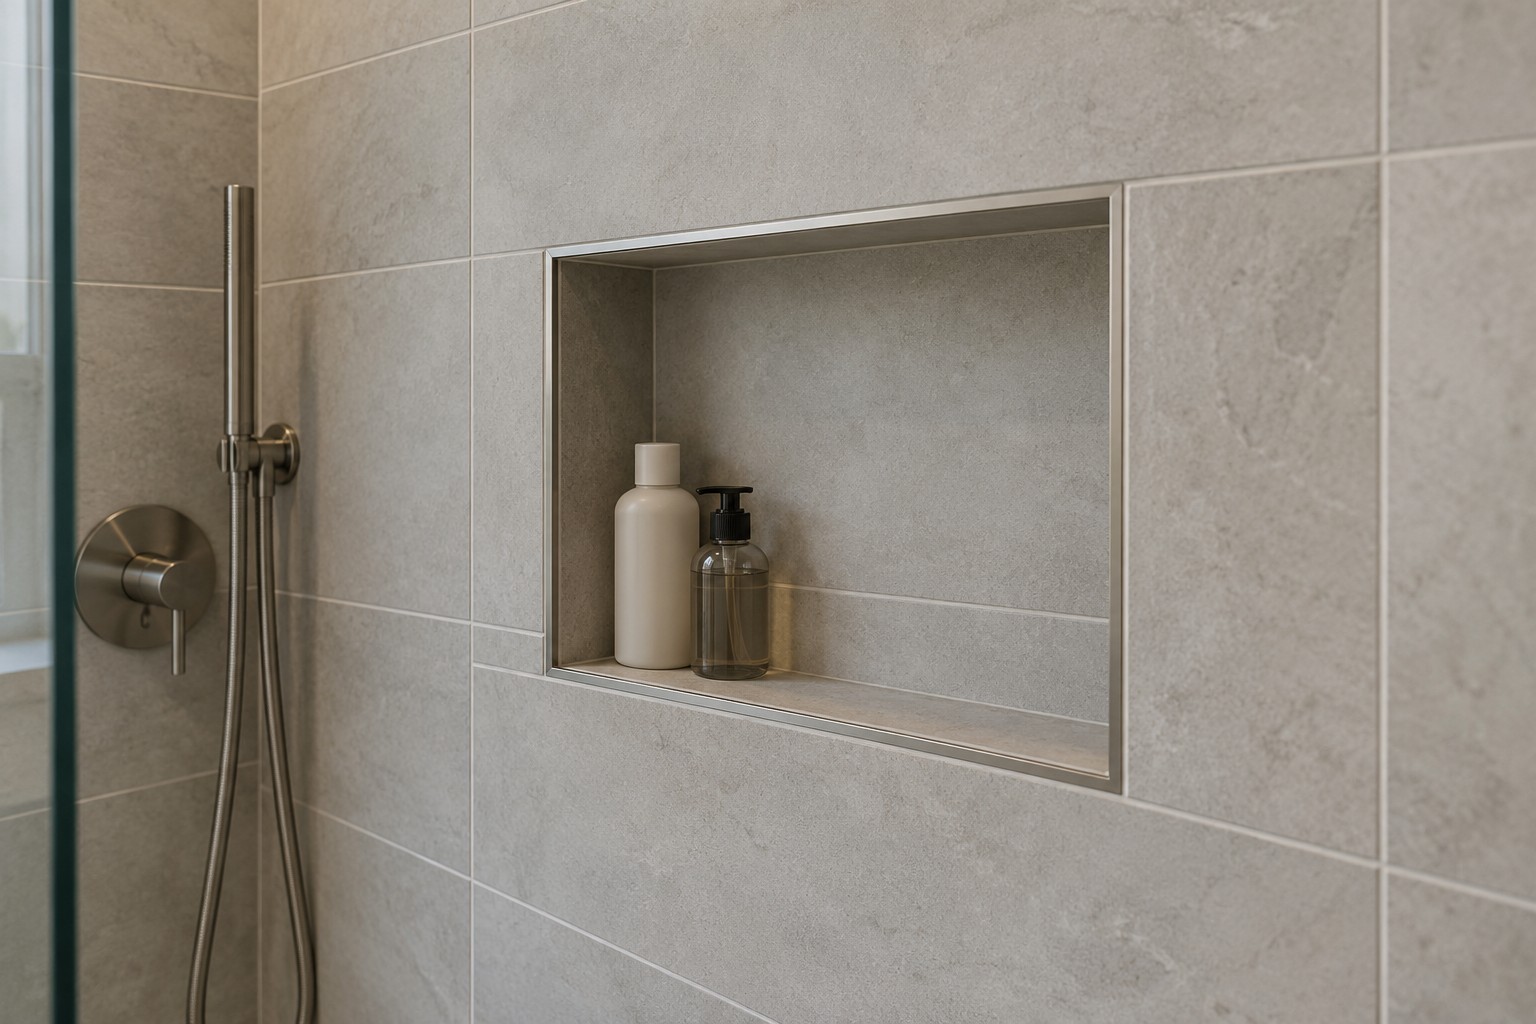
Read the niche as an opening with several planes
For a quiet appearance, the wall tile, interior returns and back can share a finish. Their joints still need a deliberate relationship. A back tile that fits neatly inside the opening does not determine how the four returns meet the wall face.
Draw the wall elevation and a small section together. Identify the visible rim, the internal corners and the bottom shelf. Then compare where joints fall on the surrounding wall and inside the recess. Avoid choosing the niche location solely because a single loose tile seems to fit its back.
As an example, a horizontal grout line can continue across the niche back while the side returns use separate cut pieces. This may connect the recess visually to the wall. A contrasting back can instead make the niche a distinct inset. These are composition choices; neither substitutes for the required wet-area construction.
Compare three approaches to shower niche tile edges
Cut returns from the field tile
Using the same field tile on the returns can keep the colour and surface consistent. However, a glazed face and its cut body may look different. Decide whether the body will remain visible, receive an approved finish or meet another edge treatment.
A mitred corner may create a fine outline, but it should not be assumed feasible for every tile. Ask the fabricator or installer to demonstrate the proposed edge using the actual product. Review the corner from the normal shower approach as well as close up. A photograph of a different range is not an approval sample.
Use matching trim pieces where the range offers them
A factory-finished edge or shaped trim can give the opening a deliberate border. Check the actual piece list, not just the field-tile colour name. Matching items may differ in sheen, profile or production availability, so compare them side by side.
Show how straight trims end and how their corners meet. A small sample that includes both a straight section and a corner is more informative than one isolated trim. If the selected range has no suitable pieces, keep that gap visible in the proposal instead of assuming a substitute will match.
Frame the opening with a separate profile
A metal or other compatible edging profile can make a clear line between the wall and recess. It may coordinate with the shower fittings or sit quietly beside the grout colour. The profile becomes part of the design rather than a late cover for an unresolved edge.
Schluter’s wall-profile range provides manufacturer examples of products intended to finish exposed tile edges. This is a reference to one manufacturer’s approach, not a statement that TILE IN CHINA supplies those profiles. The chosen profile must be checked against the measured tile, setting assembly, exposure and care requirements.

Review the rim, returns and back as one sample
For shower niche tile edges, a useful review sample includes the wall face, one return and the chosen rim treatment. Add the proposed grout colour and view the combination under lighting similar to the room. Look for an intentional outline and a convincing transition between planes.
Also consider how the finish behaves visually around bottles and ordinary bathroom fittings. A strong border can help a small opening read clearly. A discreet border can suit a wall where the tile pattern is already busy. Neither is automatically more refined; judge it within the complete wall.
Keep the surface choice separate from waterproofing
The tile and its trim are only the visible finish. The niche’s support, waterproofing connections, drainage and changes of plane require the selected system’s instructions and project design. For example, Schluter’s prefabricated niche instructions describe specific connections to adjoining wall assemblies. Those instructions cannot be transferred to an unrelated niche or mixed system.
Choose the edge approach alongside your ceramic and porcelain tile selection. Then send the opening sketch, exposed-edge sample and required trim list through the tile sourcing enquiry. TILE IN CHINA can coordinate product and sample questions within an agreed scope; the appointed design and installation team remains responsible for the wet-area assembly.