
Porcelain tile hallways with several side doors need a layout that works at more than one opening. Compare the entrance, each side door and the final room transition on one measured plan before choosing the starting line. A clear long view is useful only when the cuts at the other doors remain coherent.
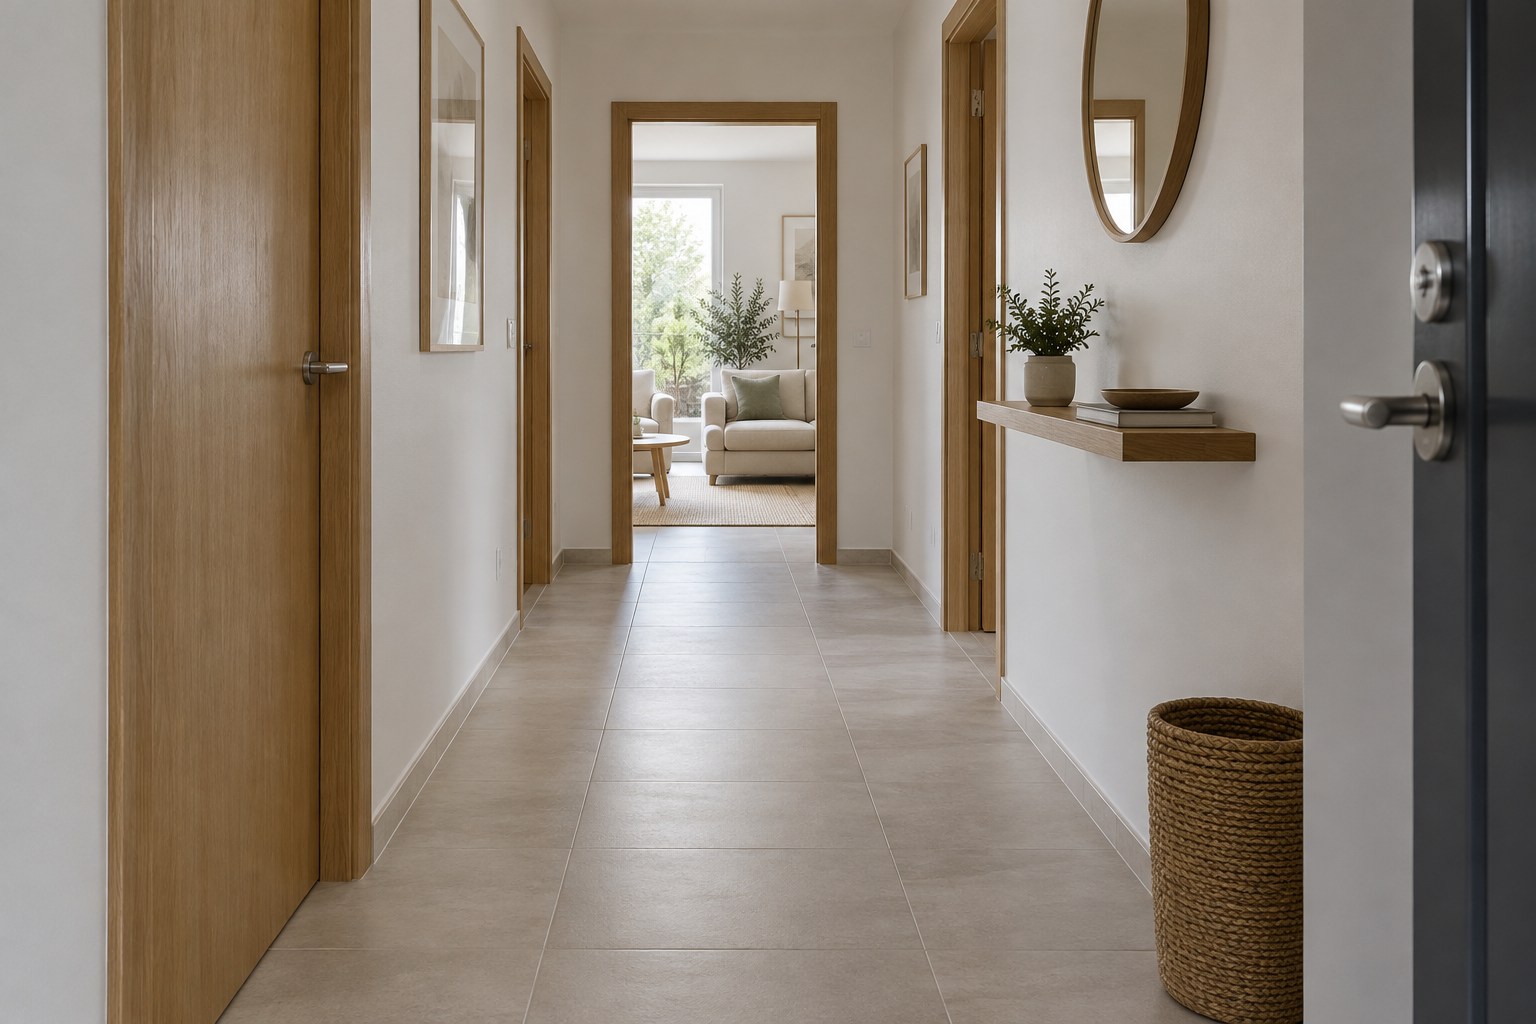
The apartment hallway in this study is a hypothetical layout. Its pale rectangular floor illustrates a design direction, not a particular product, tested assembly or completed TILE IN CHINA project.
Read the openings in porcelain tile hallways
Stand at the entrance and identify the strongest view. It may lead directly toward a living room, turn toward a bedroom or stop at a wall. That first view matters because it is where the floor pattern is read most clearly. A layout that looks balanced on a small plan can produce awkward cuts at the most visible doorway.
In the illustrated arrangement, the longer direction of the rectangular tiles follows the corridor. This makes a continuous route easy to read. The walls and timber frames remain quiet, so the floor does not need a separate border or a contrasting strip to explain where to walk.
Turning the same format across the corridor creates a different rhythm. The repeated cross joints can emphasize the succession of short segments rather than the long view. That may suit a compact passage, but the effect depends on the actual proportions and where the tile ends meet the walls. It is a comparison to draw, not a universal rule for making a hallway wider.
Compare porcelain tile hallways at the doors
Doorways interrupt a regular floor grid. Before choosing the starting line, draw the proposed layout at every opening, including the part concealed by a closed door. Compare the entrance, side doors and the final room transition together. Improving one opening should not produce conspicuous narrow pieces at all the others.
Prepare three layouts with the same tile and proposed joint module. Change only the starting reference, so the comparison shows what that decision does to all the openings.
| Starting reference | Where it may help | What to compare across the corridor |
|---|---|---|
| Entrance first | The arrival opening is the strongest view | The first tile row, side-door cuts and the final threshold |
| One important side door | A frequently used room forms the main destination | Its visible edge pieces and the consequences at the entrance and other doors |
| Corridor center line | Balanced long edges are the main visual aim | Both wall cuts and any small pieces created where door recesses interrupt them |
Choose the reference after viewing the complete plan. A center line can balance the long walls yet leave a conspicuous cut at a side door. An entrance-based grid may give a strong first view but require a different edge piece at the far end. Record which view takes priority and let the installer confirm the final setting-out against site dimensions.
Use the selected tile’s actual dimensions and the proposed joints for this exercise. A nominal catalog size is a starting reference, not a finished setting-out module. The installer should confirm the layout against measured conditions and the approved product information.
The Tile Council of North America’s grout guidance identifies size variation, edge shape, application and surface conditions as relevant to joint selection. Keep the drawing’s joint module provisional until the product and installation review confirms it.
Keep the route and surface pattern in balance
In porcelain tile hallways, a pronounced stone effect or wood grain introduces direction even before the tile joints are considered. With a quiet plain surface, the joint grid does more of the visual work. With a strong printed pattern, the arrangement of the individual faces can become the main rhythm.
Lay out several sample pieces rather than judging one tile in isolation. Turn the pieces, compare repeats and view them from the entrance direction. A pattern that looks attractive at close range may become too active when repeated down a narrow passage. Conversely, a restrained range may need no border at all.

This comparison is about visual character. A photograph cannot establish whether an item is porcelain, whether it is intended for the proposed floor or how it performs under the project’s conditions. Keep appearance selection and product evidence as separate parts of the decision.
Keep each threshold in the same drawing
Continuing a floor into an adjoining room can support a simple overall palette. Ending it at a doorway can give the next space a distinct identity. Choose the transition with the room arrangement and floor levels, rather than leaving a trim to solve an unresolved visual boundary.
Where two floor finishes meet, show the intended transition in the drawing. Ask the responsible designer and installer to coordinate the level, joint and edge details. A continuous-looking floor in a rendering is not an instruction to omit necessary joints or to use one fixing method everywhere.
The entrance also deserves its own use discussion. Outdoor dirt, cleaning practices and any moisture brought inside may affect product selection. State those conditions to the supplier and request evidence for the exact proposed item. The word porcelain alone should not be treated as approval for the application.
Give suppliers a layout they can understand
A focused brief for porcelain tile hallways includes the floor plan, important doorway views, the preferred direction, the proposed surface character and the quantity basis. Ask for labeled samples and current product information, then compare the actual face range before approving the order.
The ceramic and porcelain tile sourcing page is a starting point for identifying the material category. The project sourcing guide helps frame the order discussion. If a directional wood appearance is being considered, review the wood-look tile options separately from the plain surface illustrated here.
Send the hallway plan and the appearance direction through the site’s existing inquiry form. The goal is a product and layout that suit the route, rather than a floor pattern selected without the doors, adjoining rooms or daily use in view.